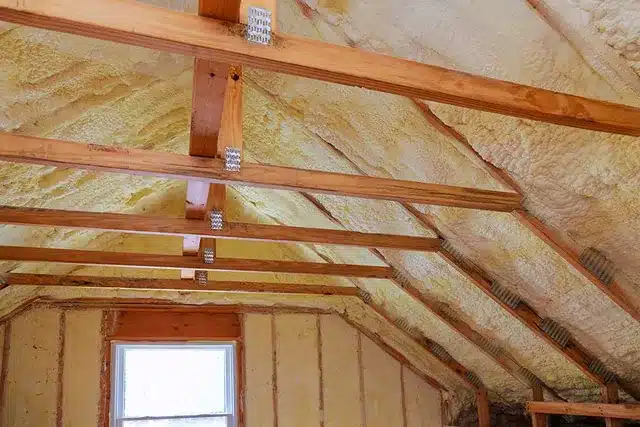
DIY Roof Framing: Tips and Tricks for the Aspiring Homeowner
Roof framing tips for the aspiring homeowner. The process of roof framing may seem daunting, but it can be a fun and rewarding project with the right tools and knowledge. It is important that you take the time to research and understand the basics of roof framing before starting. In this article, we will outline the basics of roof framing- from understanding the necessary materials to taking accurate measurements and cutting the lumber correctly.
The basics of roof framing for the aspiring homeowner. This includes the necessary tools, materials and steps involved in the process. You will also learn about some tips and tricks that can make the job a lot easier-such as using a ladder stabilizer, creating a makeshift scaffold and more. Here’s what you need to know:

- Materials: The most common materials used for roof framing are wooden boards, nails and screws. Additionally, you may need additional tools such as a saw, hammer and safety goggles. This is why it’s important to check the local hardware store before beginning your project.
- Measuring: Taking accurate measurements is one of the most important steps in roof framing. To do this, you’ll need a tape measure as well as other tools such as a level and square for ensuring all measurements are accurate. Additionally, it is important to double-check all of your measurements before cutting the lumber to ensure accuracy.
- Cutting: Once you have taken the necessary measurements, you will need to cut the lumber for your roof framing project. It is important to take your time when cutting and double-check the measurements to ensure accuracy. Additionally, be sure to use a saw blade made specifically for cutting wood, as using a general-purpose blade could result in an uneven or jagged cut.
- Assembling: Once all of the pieces have been cut, it’s time to begin assembling the roof frame. Assembling a frame requires precision and patience, so take your time as you work. Additionally, be sure to use nails and screws of the appropriate size and length as well as any other fasteners specified by your local building code.
- Safety: As with any DIY project, safety should always be the top priority. Be sure to wear protective gear such as goggles and gloves while working with tools and materials. Additionally, use a ladder stabilizer when necessary to prevent it from tipping over and follow all safety guidelines as outlined by your local building code.
With the right tools, knowledge and patience, you can successfully complete a roof framing project. Remember to take your time, double-check all measurements and use the right materials. follow all safety guidelines as outlined by your local building code and you will be rewarded with a roof frame that is both strong and secure.
Additional Resources: Do your research and look into the local building codes in your area to make sure you are adhering to all safety regulations. Additionally, read up on any applicable warranties or insurance policies that may apply to your project. With the right preparation and guidance, you can complete your roof framing project with confidence.
https://www.google.com/maps?cid=8712185105420420785

